1. Login to Weblogic administrator console.
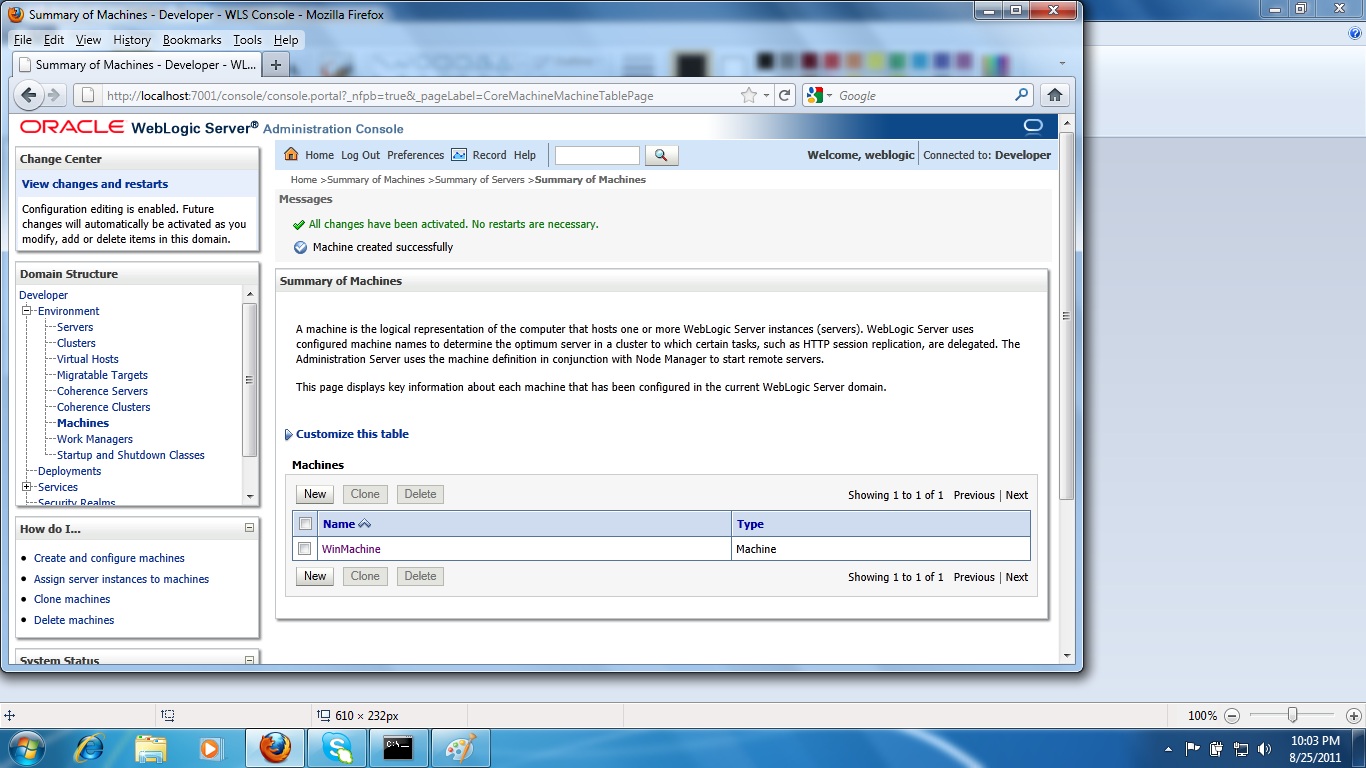
2. In the Left pane we can see "Environment" tree. Expand the tree we can see the link "Servers". Click that Link
3. We can see the "Summary of Servers" page. Click the "New" button to add Server.
4. Provide the server name, ip address and port it want to run as shown in the screen shot. Click the "Next" button.

5. Click the "Finish" button to create the server and we can see the server is created successfully.

6. Now back to "Summary of Servers" page. Click through the Link "ManagedServer1". Now we can see the properties and
advanced settings page for this Managed Server.


7. Select the Machine name as shown in the screen shot. Note that every server is associated with machine. Click the
save button to save the configurations.
8. Now this is the important configuration note it carefully. When you want to start or stop the Managed server through
Nodemanager or in console, we want to provide some parameters to start the server. Go to Configuration-->Server Start tab.
Provide the details as shown below. Java home is the path name where we installed Java. Java Vendor is "Sun". If we
installed some other JDK provide that vendor name for example IBM JDK,JRockit vendors are different. Then provide the
BEA home is the path where we installed Weblogic Server. Root Directory is the Path where we installed our "Domain".
Here it is "DeveloperDomain" which is the domain name installed in our system. Then provide the path where weblogic.jar
is installed as weblogic loads jar files during runtime.

9. Now Provide the where our security policy file is located as shown in the screen shot and provide the weblogic administrator
username and password and also confirm the password. Click the Save button to save the configurations. Please note that
all these settings are mandatory to start and stop the Managed Servers

2. In the Left pane we can see "Environment" tree. Expand the tree we can see the link "Servers". Click that Link
3. We can see the "Summary of Servers" page. Click the "New" button to add Server.
 |
| Weblogic Server 11g Servers summary page |
4. Provide the server name, ip address and port it want to run as shown in the screen shot. Click the "Next" button.

5. Click the "Finish" button to create the server and we can see the server is created successfully.

6. Now back to "Summary of Servers" page. Click through the Link "ManagedServer1". Now we can see the properties and
advanced settings page for this Managed Server.


7. Select the Machine name as shown in the screen shot. Note that every server is associated with machine. Click the
save button to save the configurations.
8. Now this is the important configuration note it carefully. When you want to start or stop the Managed server through
Nodemanager or in console, we want to provide some parameters to start the server. Go to Configuration-->Server Start tab.
Provide the details as shown below. Java home is the path name where we installed Java. Java Vendor is "Sun". If we
installed some other JDK provide that vendor name for example IBM JDK,JRockit vendors are different. Then provide the
BEA home is the path where we installed Weblogic Server. Root Directory is the Path where we installed our "Domain".
Here it is "DeveloperDomain" which is the domain name installed in our system. Then provide the path where weblogic.jar
is installed as weblogic loads jar files during runtime.

9. Now Provide the where our security policy file is located as shown in the screen shot and provide the weblogic administrator
username and password and also confirm the password. Click the Save button to save the configurations. Please note that
all these settings are mandatory to start and stop the Managed Servers